
Today we are continuing on with my series on Selling on Etsy. If you missed Part 1, you can find it here.
Last time we talked about things to do before you open shop. Today we are talking about photography. Get comfy because this one is going to be a long one.
Photography on Etsy can make or break your shop. A good photo can make your product pop. It seems more professional as well. It’s important to remember that your customers can’t pick up your products. They can’t touch it or turn it over. Your photos needs to show your customers everything about your product. The size, the details, the texture, etc. That can be tough to do with only five photo slots.

Background
One of the first things you will need to decide is what to use for a background. You don’t want anything that takes away from your product. Most sellers use a plain white background so that their product is all that you see. Sometimes they use nature which can work well too. You want something neutral and not too dark.
Example:
This the photo I used to use for my bow baby headband.

This is the one I use now.
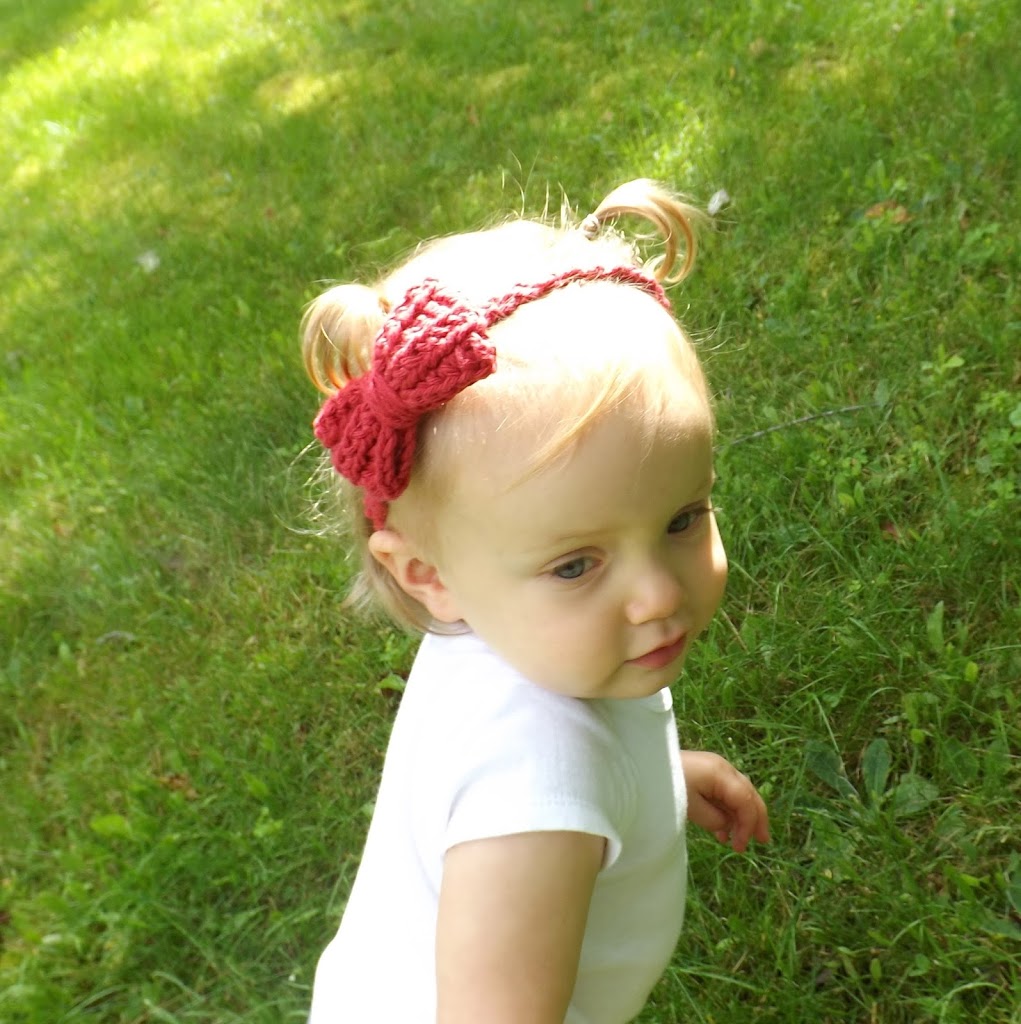
Look at the old one. The background is so dark. Plus, there are so many colors. You have the dark blue blanket, the beige carpet, two different color shirts, and her pants. All of it takes away from the headband. I also used flash which washes out the color of the bow making it look pink, not red.
Look at the current one. Nothing distracting. Just green grass, a white shirt, a baby, and the product. Much simpler and more professional looking.
For items that aren’t modeled or when I can’t get outside (ie. all winter long), I use a white sheet as a background. Simple but it really works.

What you can’t see in this picture is that behind this scarf is my TV stand. Yes, that’s right. I put a white sheet up on my TV stand and use whatever I have nearby as weights to hold it still. Sometimes it’s my wax warmer, sometimes it’s my exercise shoes. You don’t need anything fancy to make a plain, white background.
I am planning at some point this year on buying a grayed out wood print paper or vinyl background to use instead of my sheet, just to add some character.
Lighting
I cannot stress this enough. Use natural lighting! Artificial lighting, whether from overhead lights or lamps or your camera’s flash can really wash out the colors of your item. It can also make bright spots, dark spots, and some really funky shadows. If you can’t get outside, start paying attention to how the sun comes in your house. I’m lucky to have a big picture window in my living room. About 1:30-3pm the lighting is perfect for taking pictures.
You also want to make sure you aren’t using direct sunlight. That can also make funky shadows. When I do outdoor photos, I like mid-morning or late afternoon. For my backyard, that just seems to make the perfect lighting. A partly cloudy day can help diffuse the sunlight as well.
They do make light boxes or you can find tutorials on Pinterest on how to make them yourself. But if you can can use natural light or your item is too big for a light box, go for the natural light.
Editing
Yes, even with a nice background and using natural light, you are going to have to edit your photos.
Examples:
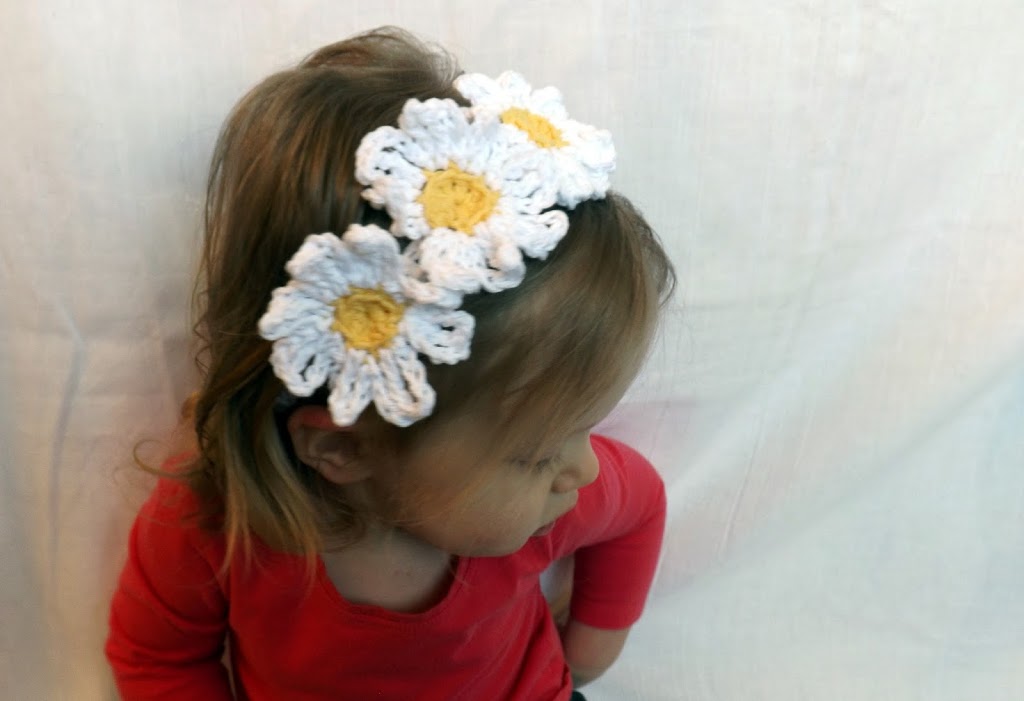
The first photo is not edited at all
This photo has been edited.
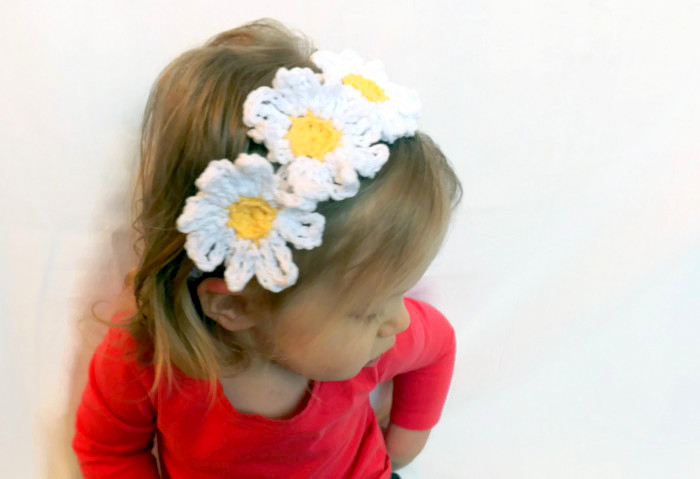
Subtle difference but it does make all the difference in the world. Just by brightening it up and fixing the background to get rid of the wrinkles in the sheet, it looks much nicer.
Here’s another example.

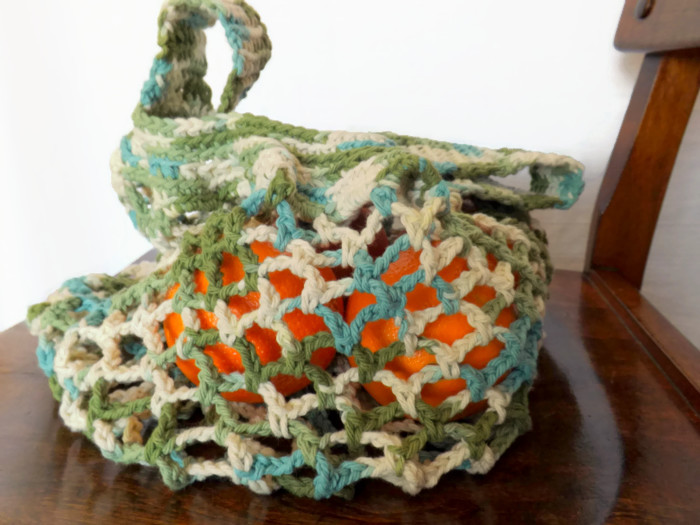
Again, subtle, but a much better picture after editing.
My two favorite products to use for photo editing are Picasa and Fotofuze. Fotofuze is specifically for Etsy and it online only. It just brightens up a white background. A lot of sellers don’t like Fotofuze because they think it makes things too stark. The trick is the play with the amount of background clarity and brightness. Most the time I use a brightness of -20 and a background of 75-80.
With Picasa, I like to adjust the fill light and shadows. It gives just enough of a boost to help against poor lighting, etc. Picasa is a free photo editing program that you download to your computer.
One of the things to do is to just play with the angles you take photos. You want to show as much detail as possible but with your main picture you want to give a good overview. All of the photos I have shared today are my main photos. With my headbands, I also show them not modeled and on a white background. It helps to show it from all angles.
Another thing is to research more. Searching, “product photography” on Pinterest taught me a lot. Handmadeology also has a big list of articles on product photography.
This week I asked some fellow Etsy sellers the questions: “What is one tip you have found to make the process of taking good pictures not so overwhelming? OR: What is one thing you find most important in taking good pictures?”
Valerie from Valerie Redpath Jewelry said: “My best tip is to be conscious of the background and keep it simple, clean, crisp. No patterns or or busy-ness!”
Michele from The Best Grandma Ever said: “I set aside a corner in my office all set up for picture taking. This way it is always ready to go and I don’t have to hall out everything to take a picture!”
Dory from worthygoods and worthgoodtextile said: “Tape a piece of wax paper to the window you are using as your natural light source. It diffuses any harsh sun and gives a nice ‘glow’ to your photos. I also wrap a piece of tinfoil around a piece of cardboard that has a fold/crease in the center. It allows you to re-direct light (from your wax-paper diffused window) to lighten up the ‘dark’ or lower-lit side of your tableaux.”
Be sure to follow me on Facebook and check back week for the next in this series, Dynamic Writing. If you decide to open up your own Etsy shop, be sure to use my referral link to get your first 40 listings for free!


Leave a Reply